
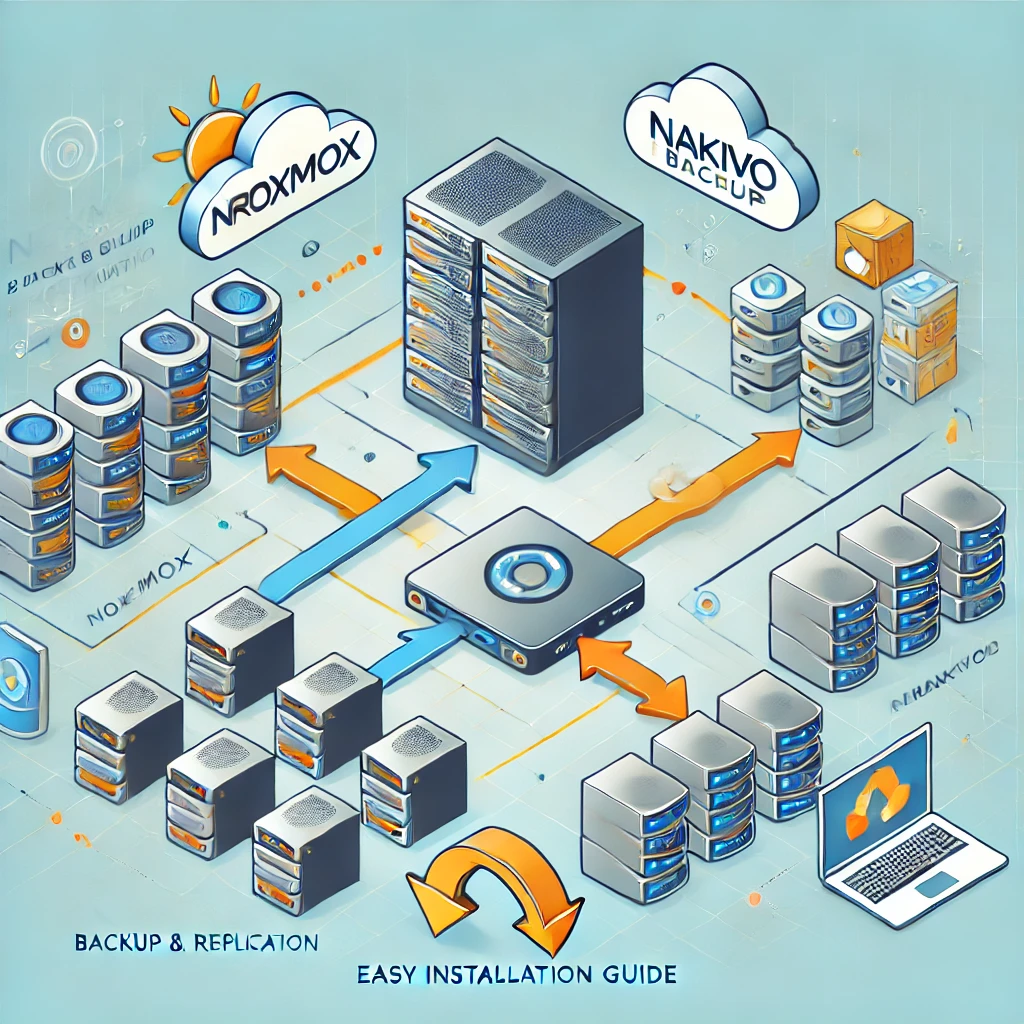
Proxmox and NAKIVO Backup: Easy Installation Guide
Setting up a reliable backup solution is crucial for maintaining data integrity and ensuring business continuity. Proxmox, a popular open-source virtualization platform, combined with NAKIVO Backup & Replication, offers a robust solution for data protection. This guide will walk you through the easy steps to install NAKIVO Backup & Replication on Proxmox.
Prerequisites
Before you begin, ensure you have the following:
- A running Proxmox VE environment
- Access to the Proxmox web interface
- NAKIVO Backup & Replication installer package
Step 1: Prepare Your Environment
Start by updating your Proxmox system to ensure all packages are up to date. Open the terminal on your Proxmox server and run:
apt-get update && apt-get upgrade -y
Step 2: Download NAKIVO Backup & Replication
Visit the NAKIVO website and download the latest version of the Backup & Replication installer suitable for your environment. You can transfer the installer to your Proxmox server using SCP or another file transfer method.
Step 3: Install NAKIVO Backup & Replication
Once the installer is on your Proxmox server, navigate to the directory where the installer is located. Run the following command to start the installation:
chmod +x nakivo-installer.sh
./nakivo-installer.sh
Follow the on-screen prompts to complete the installation. NAKIVO Backup & Replication will be installed as a service on your Proxmox server.
Step 4: Access NAKIVO Web Interface
After installation, you can access the NAKIVO Backup & Replication web interface by opening a web browser and navigating to:
https://<your_proxmox_ip>:4443
Log in using the default credentials provided during the installation process.
Step 5: Configure Your Backup Repository
Once logged in, you need to configure your backup repository. Navigate to the "Configuration" section and add a new backup repository. Specify the location where your backups will be stored, either on local storage or a network share.
Step 6: Add Proxmox VMs to NAKIVO
To back up your Proxmox virtual machines, add them to NAKIVO Backup & Replication:
- Go to the "Inventory" section.
- Click "Add New" and select "Virtual Infrastructure."
- Choose "Proxmox" and enter your Proxmox server credentials.
NAKIVO will connect to your Proxmox environment and display a list of available VMs for backup.
Step 7: Create a Backup Job
Now, create a backup job:
- Navigate to the "Dashboard" and click "Create" -> "Backup Job."
- Select the VMs you want to back up.
- Configure the backup schedule and retention settings.
- Save and run the backup job.